When I made this for Kitty's birthday last fall (just before the real illnesses set in), I came up with quite a nice way to finish the neck opening but failed to take pictures of the process. Some of you wanted to see how I did it, so I came up with another version of the sweet Playdate Dress just so I could show you! I'll start with a few tips for the yoke itself. The opening is always too small for my daughter's head and based on what I read on the forums, this seems to be a common problem.
To start, I sew the neck opening with a 3/4" seam to allow a little more room when buttoned .

Now for the dress. Basically, I bind the raw edge with bias tape in the normal way with a few small changes. There are several good tutorials on how to apply bias binding, so I will focus on my modifications. Cut a strip of bias 2"wide and long enough to go around with several inches left over at either side. Lightweight fabric works best, but I have also used regular quilting cotton. Here, I'm using a very lightweight cotton lawn for the bias and a cotton poplin for the dress itself. It may also fit more easily around the curves if you steam the bias into a curved shape before applying it.

Attach the bias as usual with right sides together and leaving several inches open - BUT - use a long basting stitch.

I used a 4 stitch length so I could get around the curves more easily than with a 5.

Then, stitch your ends together in the usual way as instructed (page 3, step 5)- with a normal stitch length - trim press and finish attaching the bias to the neckline with basting stitches.

Press well. This will be the finished edge.

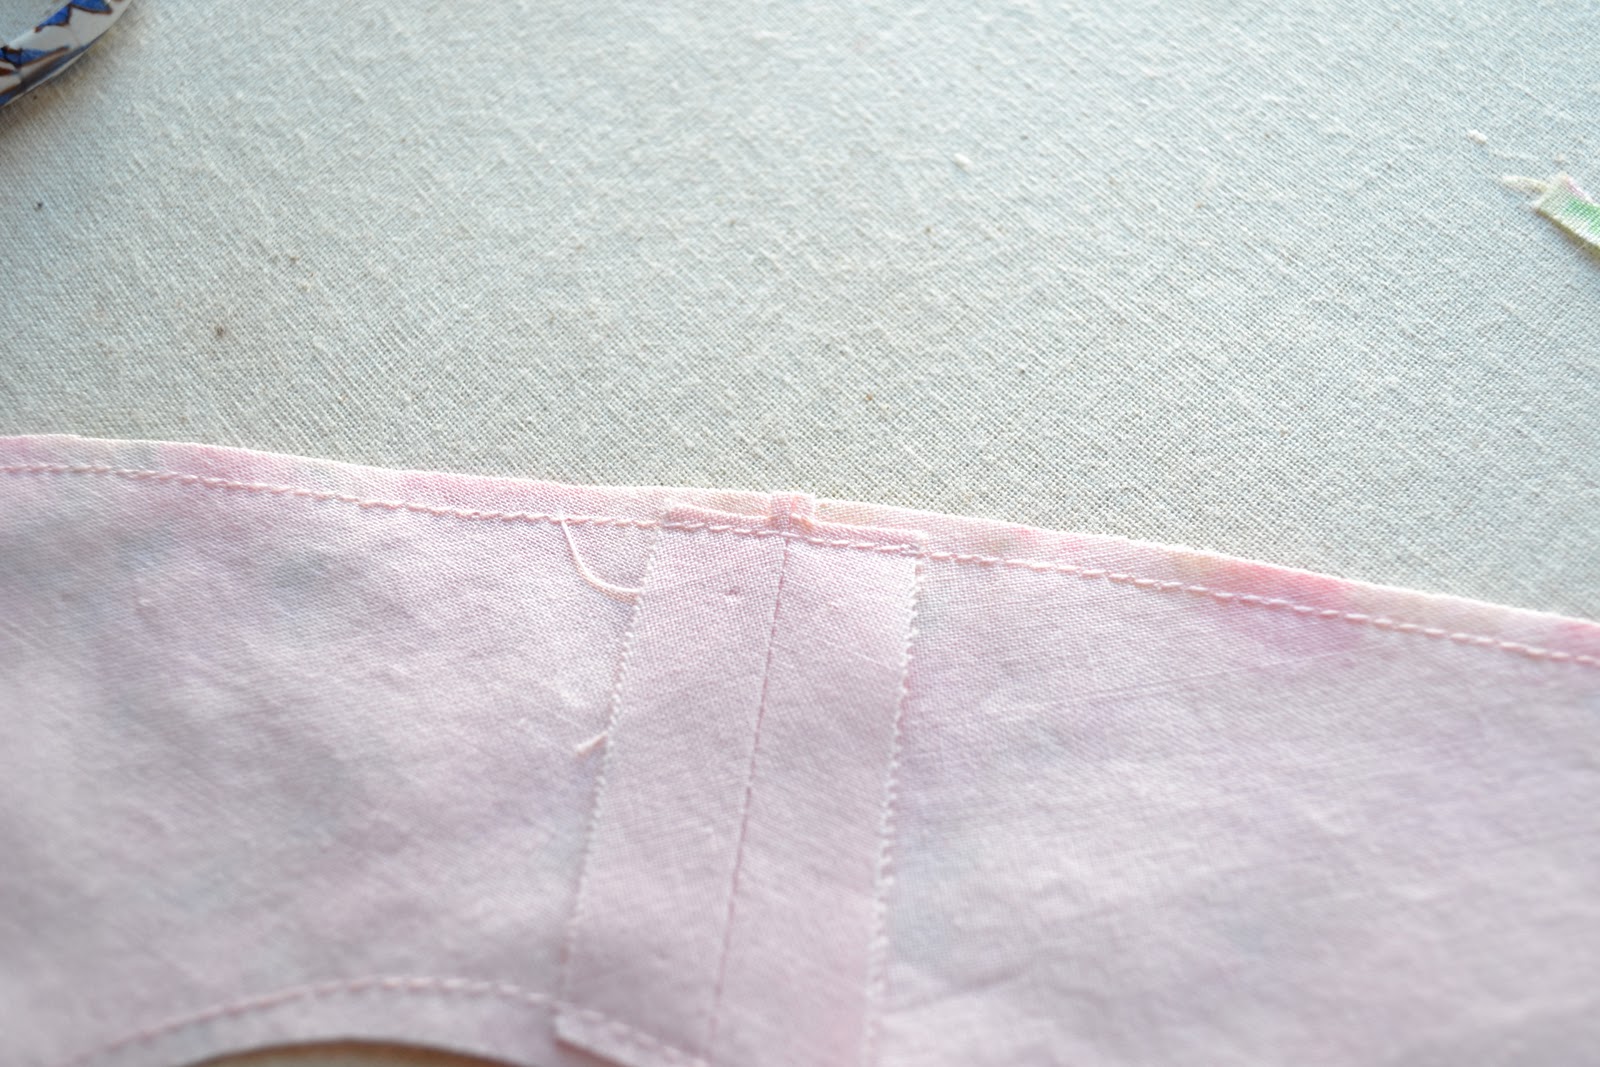
Fold the bias around to the wrong side of the dress but instead of covering your first line of stitching as you would normally do, pin the bias only almost up to the stitching.

As you come to a seam, trim the parts that will be covered by the binding.

Edgestitch the bias into place using a regular stitch length. This stitching will only show on the inside when finished.

Now attach the yoke as per the pattern instructions (page 3, step 1-2). This is tricky, so don't be afraid to use LOTS of pins. I pin the center and back fronts first, then the shoulder seams (remember yoke and dress shoulder seams don't match up) and then ease the rest into place. It helps to pin this over a pressing ham.

To line up my "piping," I use a seam gauge - but also my eye. If you've ever worked on an old house, you know that what measures perfectly doesn't always look plum and square to the eye.

see - lots and lots of pins!

I then hand baste the yoke in place. This may seem fiddly, but you really do have much better control with hand stitching. It's also easier to sew neatly without all those pins in the way. If you've never tried hand basting, you really should get a feel for how it helps you control the end result. I also tack the back neck closed to help ease the yoke in.

Once you're happy with the yoke placement, topstitch the yoke on to the dress and pull out the hand basting.
Then - and here's the magic part - unpick that very first basting stitch and voila!

You have flat piping on the outside...

... and a beautifully finished bound edge on the inside!
Pretty cool, huh? I hope you find this useful. I'll show you the completed dress another day.
Lovely finish.
ReplyDeleteThank you!
ReplyDeleteJust dropped by to say hi! You're making some beautiful things, and this is a very clever finish to the neckline. Nicely done!
ReplyDeleteHow nice of you to stop by, Liesl! Thank you so much for your lovely compliment. I'm pleased you like what I've done with your design.
ReplyDeleteThis is a wonderful tutorial. I am definitely going to use it the next time I make a Playdate dress. Your finish is beautiful.
ReplyDelete