Friday, September 23, 2011

Fall 2011 Palette Challenge


The print in the top left corner is the inspiration for the rest of my palette choices. I toyed around with lots of colors I found in Pantone’s Fall 2011 lineup, but couldn’t quite make it work. That’s because it’s really pinks and reds that make me happy – exactly the colors in this Valori Wells voile I bought in the summer. So I based my palette on the lovely pinks and reds in this print. I also plan to branch a little out of my comfort zone into the orange and mustard yellow – also represented in my inspiration fabric – that seem to be calling me at the moment. They may end up only as accent colors, but we’ll see. For neutrals, at first I tried to incorporate coffee browns or taupe, but when Sarai posted her palette, I realized that I really just wanted black. In another life, I was a classical musician and black was de rigueur, which may be why I always return to it. Also, black will give me the chance to sew something I’ve been thinking about for a long time. I really love the Collete Jasmine justas they show it, so I’d like to copy that and try sewing with silk. 

The real challenge for me is that my (needle) eye is often too big for my schedule.  I’ve tried to limit my projects to something realistic. It simply doesn’t feel good to me to have things go unfinished. 

The actual items in my challenge:
  1. Lisette market blouse, Simplicity 2211, in Wrenly voile.
  2. Colette Beignet skirt in red cotton sateen
  3. Colette Peony in pink cotton for baby girl’s birthday party
  4. Colette Jasmine in ivory silk
  5. Simplicity 2058 in black, possibly wool crepe.

If all that goes well, my extra credit project will be a mustard colored pencil skirt. Or, maybe I'll  treat myself to the fabulous one from J.crew.  The order of these is subject to dieting progress. I don’t put too much effort into the skirts until I can fit into my old clothes again. I finished the market blouse last night, but it’s a dreary rainy day here, so I can’t really get any good photos just yet. 

Finally, thanks to everyone who joined my site this week! I’m really glad to have you. I’ve picked two names out of a hat for my sample ice cream dresses:  congrats to gail and mmather! I will put these in the post right away.  


Is anyone else doing the Fall Palette Challenge? What are you making?

Monday, September 19, 2011

Back to School, big heads, a printable and a giveaway!

My oldest child started kindergarten last week and my other son started preschool. It was a big week and I didn't have much time for blogging.  This was K's honorary back to school dress. It was just right for seeing big brothers off to school! (And if I'm honest, it was the only clean and presentable thing I could pull out of her closet that morning.)

I’ve been meaning to post my ice cream dress alteration for some time, but have been distracted with some other sewing, as well as planning my Fall Palette Challenge. (The dress you see in my new fall banner is coming soon, I promise, and it’s worth waiting for!)  The Oliver + S Ice Cream Dress has become one of my wardrobe staples. It has a generous fit, which helps it last a long time – except that babies and toddlers usually have disproportionately large heads. Most babies don’t like things pulled over their heads either, so it becomes a struggle.  The neck is already wide, so that’s not a good place to adjust. Instead, I added a deeper opening in the back using a placket.


Below are photos as well as – wait for it! – a pdf you can print with instructions and a tiny pattern for the placket piece!  And, because I made three of these for the sake of pictures, I will give the other two dresses – one size 18 months and one size 3T – to two lucky readers. Use them for your own children or as gifts. They are made from the highly desirable Joel Dewberry Aviary collection in a perfectly autumn colorway.  To win the dresses, become a follower of my blog with the Google widget to the right and leave a comment below that includes your email address and which size you'd prefer. I’ll choose a winner at random on Friday and announce it. Then you can email me your mailing address and I’ll pop it in the post. 

It's not a difficult process, so I'll just let you read the instructions on the pdf, but I thought the pictures would be helpful. Basically, you cut a placket shape out of a scrap of fabric, attach it to the dress back, stitch around the opening, cut it open and flip the whole thing around to the inside. Then topstitch it carefully and construct the dress pretty much as normal except that you'll have to separate sides on the back. This actually makes it a little easier to assemble too.
 I've seen one or two other solutions out there for this problem, so I know I'm not the only one who has to make a large head adjustment to the pattern. You could also make a keyhole opening by binding a slit with bias tape. It's really up to you, but I hope you find my solution useful.


This is Kitty's 18month sized dress. The other 18month one looks exactly the same - it's a short dress for ease of crawling and exploring. The 3T dress has pockets and the contrasting band at the hem. The contrast is a Kaffe Fasset shot cotton in an orange-y red that matches the flowers. These wash easily and are great play dresses. So follow, comment and check back Friday to see who won!

And because I have your attention, here's a gratuitous shot of my first born baby all grown up in his summer uniform after his very first day at Kindergarten!


[updated to add]

 Thanks for all your comments! I'm glad to hear you find my technique useful. Here's a picture of the size 3T brown bird dress. There's still time to leave your name to win back to school dresses! (Don't forget to follow publicly with Google Friend Connect so I can see you. )

Tuesday, September 6, 2011

Girl’s World book review (and how I stuck out my tongue at French seam naysayers.)


I love sewing girly, girly things! And this book certainly indulges me. Girls’ World by Jennifer Paganelli is full of inspiration. It only actually includes 4 dresses: 2 party dresses, 1 tunic style dress and 1 halter style. I like the first three, but – and call me old fashioned if you like – I’m not crazy about this sexy halter top on little girls. The other projects include home décor and crafty items, some of which are sweet and some of which are sort of basic.  The patterns are included in a handy little envelope, but the paper is a bit fragile and you still have to piece them together a little. Spiral binding would have made it easier to read instructions. Final garment measurements are not given, nor are line drawings. And since the instructions are word heavy and lacking in diagrams, you need to just cross your fingers that it will work out in the end. Still, I didn’t have much trouble figuring out the tunic dress. The real interest in the book is the lush and fanciful styling of all these projects. You might wish you were a “tween” yourself again! 

There isn’t a lot of substantial enough instruction to guide a total beginner successfully through this, but an advanced beginner would probably be fine. Except for the Agnes tunic. That neckline is tricky. If I were rating it on the Knitty.com scale, it might be tangy. Some complexity was added by me, though, because I don’t like raw edges.


Rather than leave the raw edges out and slop a zig zag over it, as instructed, I pressed the yoke lining seam allowance under, then attached only the yoke itself to the dress body. I pressed, turned and pinned the lining in place. Then I topstitched from the right side, being sure to catch the back in the stitching. You could also slip stitch this by hand, but I liked topstitching here. I attached the hem and sleeve bands the same way. I also understitched the yoke lining to the seam allowance. 


I used French seams at the shoulders, down the sleeve and side seams so that the entire thing is neatly and beautifully finished inside.  I have been told over and over that French seams are only for straight edges. I have been breaking this rule for some time because I love the tidiness of a fully finished seam and French seams are faster than flat-felled, which I also love, and bias-bound seams, which make me a little weak in the knees. I started by Frenching [insert school girl giggle] the curved seams on little bloomers for my baby a few months back. Surprise! It worked fine. The curves were not, in fact, distorted and the seam was not, in fact, too bulky. Then, I Frenched the seams on some easy summer pants and shorts for myself. Again, they worked beautifully and were perfectly comfortable to wear. I have wanted to French armscye seams for some time, but have lacked the courage to thumb my nose at all those people who said it can’t be done. I inspected all the dress shirts in my husband’s closet and found flat-felled seams and didn’t see why French seams wouldn’t work too. So I did it. And – guess what? It worked. In fact, it may have been a bit easier stitching those curves at ¼” than at the full 5/8” in one go. And now I have these nice shoulder seams that won’t ever look sloppy.

I also added inseam pockets. A girl needs pockets!  I attach inseam pockets using – you guessed it – French seams. This keeps them neat and strong for holding important things, which is the whole point of pockets.

I have some Frenching tips [giggle], if you like.  After the first pass in a curved section, clip into the seam allowance before making the second pass. At a corner or angle, such as the underarm when you’re stitching the sleeve and side all in one go, notch into the corner after the first pass. Also, clip seam allowances ruthlessly. You want to eliminate all possibly bulk. After you’ve done this once or twice, you’ll start looking for bulk to clip away everywhere! Finally, if you’re doing this on pants and have four seams meeting at the crotch, be sure to press the seams in opposite directions so that they meet rather than overlap. If you don’t see what I mean, have a look at the crotch of your favorite jeans. Finally, when I set pockets in French seams, I stitch the first pass in stages. The pocket gets stitched by itself and then the side seams. This helps on the second pass if you need to unpick a few stitches to make it lie nice and flat. So there it is – one of my big secrets! Now go forth and French everything you never thought you could and report back to me on your adventures.


Attaching the neck band to the dress is tough going. Don’t be afraid to not only use lots of pins, as the instructions suggest, but to also notch the seam *before* stitching if it helps you pin the two pieces together correctly.  I pinned and stitched in sections here so as not to have massive amounts of unwieldy pins flying around. I aligned the shoulder seams and back neck edges, stitched just those bits together and checked for proper alignment. Then I pinned and stitched one back neck, then pinned and stitched one side front, then the other, etc. At both back necks, I needed to make little snips into the seam allowance of the dress body in order to make it fit the curve of the neck band. For the fronts, I pulled up the gathers as I pinned. Finally, I checked the right side of the yoke for unwanted tucks, unpicked and stitched again. Phew!


Problems with the pattern: there is no instruction given for how to set the sleeves. I added a row of basting stitches at the top of the sleeve cap and pulled them up to ease the cap into the armhole. This is a simple enough fix, but only if you’ve set a few sleeves before. There are no finished measurements given, only a guideline for sizing, so be sure to measure the pattern pieces.

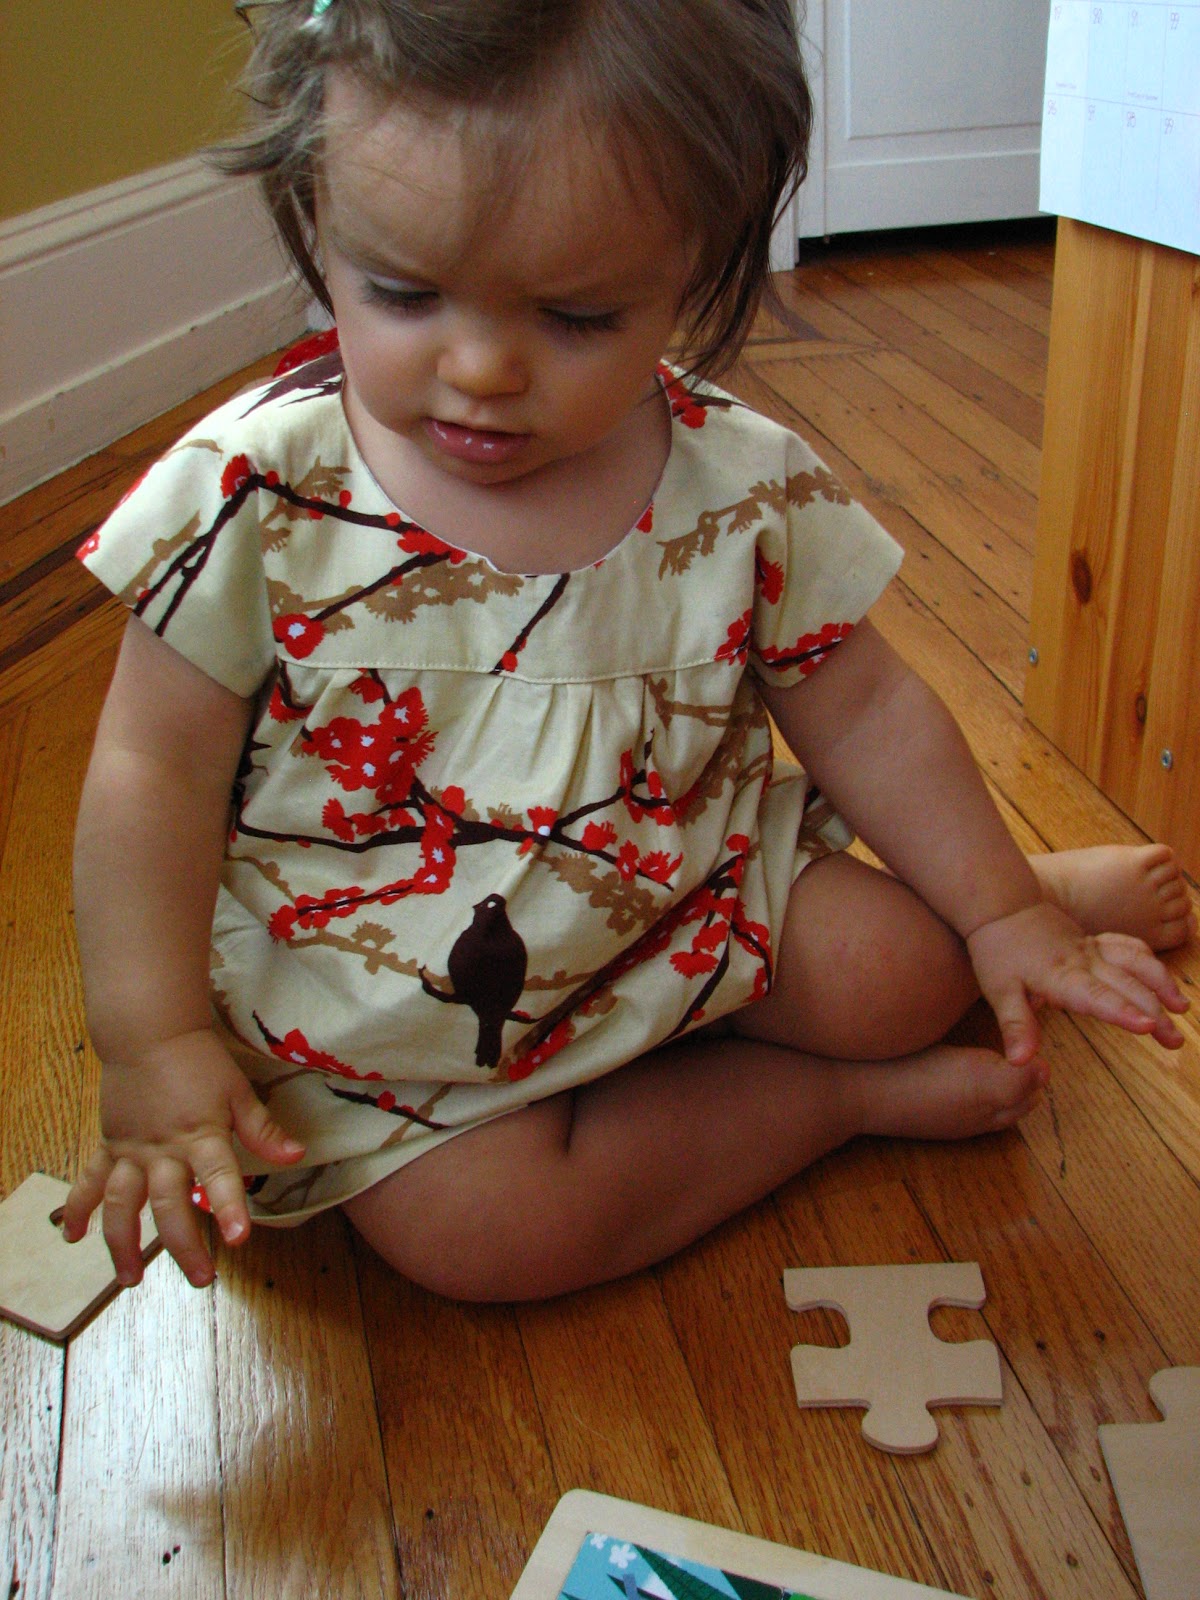
I really like this pattern a lot. I can see it shining in a more subdued fabric choice. The main fabric here is an Art Gallery print chosen from my stash by the birthday girl next door. I picked the contrast out of my stash too. The birthday girl likes bold combinations and I thought this would suit her. Next year I may make this for my Kitty (the sizes only start at 2) in something like chambray or corduroy. There is a lot of room in the shape, which will make it a great play dress. But it’s nice enough for a special playdate too.  I really like the interesting gathers around the neckline and the flared sleeves. Hopefully, the birthday girl will think so too!

Friday, September 2, 2011

popover for one last summer playdate

This is the last summer dress for Kitty and the last of my yellow and pink projects. She was so excited by the yellow fabric while I was stitching my Sorbetto top, that I simply had to make something for her and I knew the Popover Sundress would be perfect. When I finished and showed her the dress, she positively squealed and snatched it.

I made one change this time around. Cute as those little bows on the shoulder are, they are a pain to do up on a squirmy, wriggly, and generally impatient 10 month old. So I used the continuous loop method to make the straps, as if I were finishing a regular armscye. Now it really is a dress to just popover. I think it streamlined the look a little bit too.

The best pictures I could get of this dress were of the back of it as she crawled away. It's a good thing I made the shorter length again. I'll be sticking to this length through the fall and winter. Anything longer, and she just gets all tangled up.This is the time of life to be on the move.

 I managed to finish one special project today and hope to photograph it over the holiday weekend. I also hope to carve out time to finally start on one of the lovely patterns from France. I will also be planning my Fall Palette Challenge. What will you be doing with the last weekend of your summer?